Disclosure: I am compensated for purchases made through some links on this site. Click for details.
Want to know how to lift and carry a kayak by yourself or with the help of a kayaking buddy? Good for you! Kayak safety begins before you get on the water. Knowing how to properly lift and carry a kayak alone or with two people can prevent injury.
Kayaks can be heavy and their length can make them awkward to wield around. The right techniques improve your ability to safely lift and carry any kayak from your car or storage to the water and back… when portaging too.
Most of us have physical limitations of some sort… Muscle strength, height for getting a kayak on and off a car roof, or other physical problems like back problems like mine. I have three herniated discs.
Which way is the safest way to lift and carry your kayak? Let’s take a look.
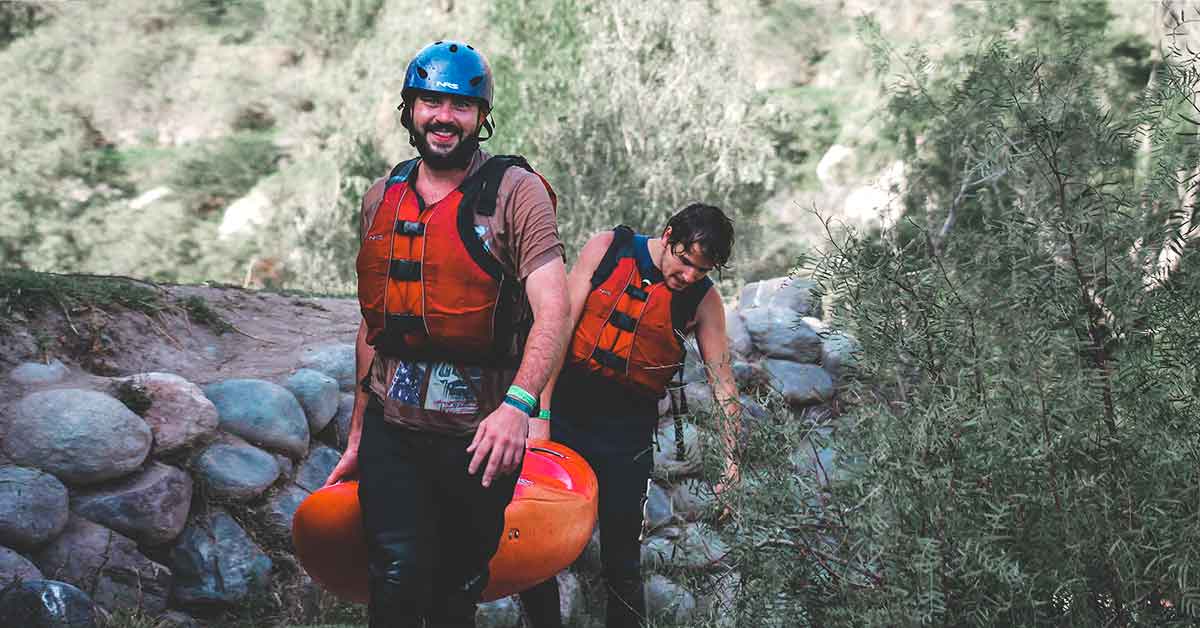
Related Content: Boating Safety Basics For Paddle Boaters
Kayak Lifting and Carrying Basics
The right techniques improve your ability to safely lift, carry, load, and store your kayak.
- Whenever possible, lift and carry your kayak with another person. Kayaks can often be carried alone, but lifting and carrying with a kayaking buddy is almost always easier and can prevent injury.
- Lifting your kayak with gear or water inside can damage the hull. Empty your kayak before lifting and carrying it.
- As much as possible, lift with your legs and not your back.
- Keep your back as straight as possible when lifting your kayak. Do not rotate your torso when lifting. Rotating and lifting a heavy object can cause back injury.
- Do not lock your knees when lifting your kayak. Your knees should be slightly bent.
- Communication and coordination of movements are key when lifting and carrying a kayak with two or more people.
- If you have incurred an injury that limits your ability to lift and carry a kayak, consult your doctor or physical therapist. Back, knee, and shoulder issues can be limiting. My physical therapist helped me.
Features and Gear for Lifting and Carrying Kayaks
The proper technique for lifting and carrying a kayak varies with the type, size, and weight of the kayak.
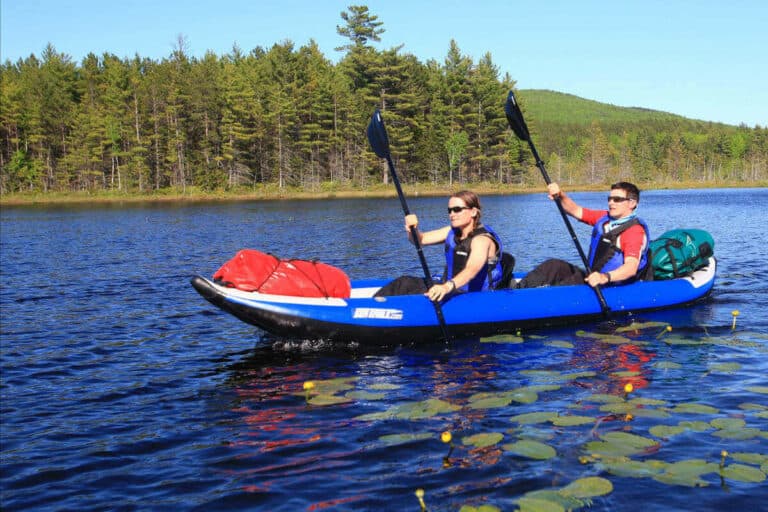
Consider some of the different types of kayaks… Sit-in, sit-on-top, recreational, touring, inflatable, fishing, pedaling, 1-person, 2-person, and 3-person kayaks.
You might be able to lift and carry a smaller, lighter kayak by yourself, but larger, longer, and heavier kayaks may need two or more people.
The awkwardness of a boat may also dictate how it’s carried. Hardshell kayaks are heavier than inflatable kayaks, but large inflatable tubes increase awkwardness, especially if it’s breezy.
Kayak Grab Handles
Buy a kayak with handles at the bow and stern (front and back) for easy transport. Grab handles make lifting and carrying a kayak much easier.
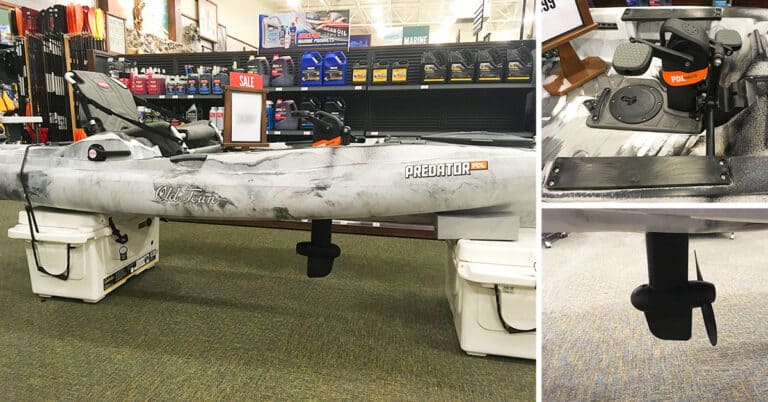
Grab handles may also be located on the port and starboard (left and right) sides of the kayak. Side grab handles are common in many sit-on-top kayaks especially sit-on-top fishing kayaks. They can get quite heavy.
Dragging a Kayak by the Grab Handle
Some people use the grab handles to drag their kayak to the water.
I really dislike the idea of dragging a kayak. Why risk damage if there’s another way?
Dragging a kayak can, however, reduce physical strain when other alternatives are not available.
If you have a polyethylene plastic kayak, preferably with a skid plate, you can drag it with the carry handle at the bow. You should only drag a kayak on grass, dirt, or sand to avoid damaging the keel. Do not drag your kayak on asphalt, concrete, rocks, roots, or other rough debris.
Never drag a composite or fiberglass kayak. Damage to the hull can occur.
Kayak Carry Strap
A kayak carry strap is great when carrying your kayak alone. Two straps fit around the middle area of your kayak and a padded shoulder strap absorbs and distributes the weight of your kayak. Many kayak carry straps have built-in loops for conveniently carrying your paddle too.
Kayak Cart
Kayak carts are two-wheeled attachments that strap onto the stern or middle of the kayak. They bear most of the weight while you pull your kayak along with the bow grab handle.
Kayak carts are ideal for carrying your kayak longer distances and work best over fairly even terrain. They even have models with balloon tires for sand.
When not in use, the kayak cart can easily be stored away in your boat for the return from your put-in.
How to Lift and Carry a Kayak by Yourself
Many kayakers lift and carry their kayak alone without the use of a kayak carry strap or kayak cart.
The decision to lift and carry a kayak by yourself and without aids largely depends on the size, weight, and style of the kayak. Kayaks can weigh anywhere from 26 lbs to well over 100 lbs (12 kg to over 45 kg). Inflatable recreational kayaks are the lightest and hardshell, sit-on-top, fishing kayaks some of the heaviest.
How to Carry a Sit-In Kayak By Yourself
Shorter, lighter sit-in kayaks can be picked up and flipped onto your shoulder.
Your kayak should be empty when practicing this lift and carry technique. This includes gear, personal items, water, etc. If the kayak is not empty, it will throw off the kayak’s balance point making it difficult or impossible to successfully accomplish this carry technique.
Step 1 – Position your kayak on the ground with the bow pointing in the direction you want to walk.
Step 2 – Stand facing the middle of the cockpit with feet shoulder-width apart.
With this technique, you will be carrying the kayak on your left shoulder if the bow of the kayak to your right. If the bow is on your left, you will carry the kayak on your right shoulder. Pick whichever is most comfortable.
Step 3 – While keeping your back straight, squat down and grab the lip of the cockpit then roll the kayak onto its side with the cockpit facing out away from you.
Step 4 – Step forward so the bottom of the kayak rests against your shins. Your feet should still be shoulder-width apart.
If you are in the middle of the cockpit, you should be standing at the balance point of your kayak. The kayak must be balanced to properly sit on your shoulder.
No extraneous gear or items should be in or mounted to your kayak. This will throw it off-balance.
Step 5 – Squat down, grab the lip of the cockpit closest to your chest with both hands. Your palms should be faced down.
Step 6 – While keeping your back straight, slide the kayak up your legs so the bottom is resting on your thighs. Your thighs will be bearing the weight, not your back.
Step 7 – With palm up, reach across with your hand that’s closest to the stern This will ensure that the bow is facing forward when you rest the kayak on your shoulder.
Step 8 – Stand up while lifting the far rim of the cockpit up to shoulder level.
If you jerk or use your body to throw the kayak up into position, you put undue stress on your back that can cause injury. Use another method to carry your kayak if you can not smoothly lift the kayak up to your shoulder.
Do not twist your torso during this move. This is a shortcut that can damage your back. Keep your back straight. Don’t rotate when lifting.
Step 9 – Turn your body toward the bow by changing your footing then position the kayak comfortably on your shoulder. Again, rotating your torso to position the kayak on your shoulder can cause back injury.
Step 10 – The rim should now be resting and balanced on your shoulder. If not, take a moment to shift and comfortably stabilize your kayak.
If the kayak is tipping to the bow or stern, the kayak is not balanced properly.
If the kayak is too heavy, don’t risk it. Use the two-person carry or another method like a kayak cart.
Step 11 – Be mindful of the kayak’s length and blind spots. You don’t want to hit anyone or anything while carrying your kayak.
Step 12 – To lower the kayak, reverse the process.
TIP: If your kayak digs into your shoulder causing discomfort, wear your personal flotation device (PFD) when carrying your kayak. The extra padding can be very helpful and you need your PFD with you anyway.
Need a visual? Check out this helpful video.
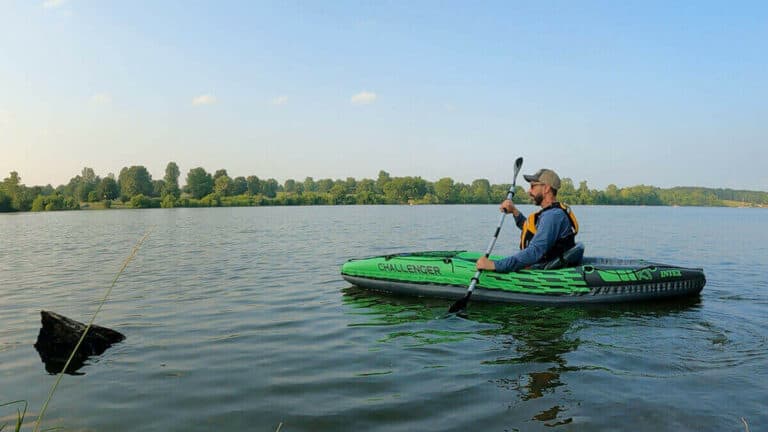
How to Carry an Inflatable Kayak By Yourself
Some inflatable kayaks have a cockpit, like the Aquaglide Navarro 130. These can be carried similarly to hardshell, sit-in kayaks.
Most inflatable kayaks lack a cockpit. They are built more like a canoe or narrow raft. When lifting this style of inflatable kayak by yourself…
Step 1 – Position your kayak on the ground with the bow pointing in the direction you want to walk.
Step 2 – Stand facing the middle of the kayak with feet shoulder-width apart.
With this technique, you will be carrying the kayak on your left shoulder if the bow of the kayak to your right. If the bow is on your left, you will carry the kayak on your right shoulder. Pick whichever is most comfortable.
Step 3 – Squat down. With palms up, reach across the inside of the kayak to the far tube. Place your hands under the tube at the floor and rock the kayak up on its side.
Step 4 – You should still be squatting and the inside of the inflatable kayak should be facing you. Your hands remain under the side tube.
Stand up while lifting the side tube to shoulder level. You are not putting the kayak on your shoulder during the lift.
NOTE: Keep your back straight, lift with your legs, and do not rotate when lifting. Rotating while lifting can cause spin damage.
Step 5 – Turn your body toward the bow by changing your footing then position the kayak comfortably on your shoulder. Again, rotating your torso to position the kayak on your shoulder can cause back injury.
Step 6 – The side tube should now be resting and balanced on your shoulder. If not, take a moment to shift and comfortably stabilize your kayak.
If the kayak is trying to tip to the bow or stern, the kayak is not balanced properly.
Step 7 – Be mindful of the kayak’s length and blind spots. You don’t want to hit anyone or anything while carrying your kayak.
Step 8 – To lower the kayak, reverse the process.
Though inflatable kayaks are lighter kayaks, it’s sometimes easier to carry them with two people especially if it is a 2-person or 3-person kayak.
In the following video, Jerry with Sea Eagle Boats lifts and carries the Sea Eagle 330 Inflatable Kayak which has a 26-pound hull. Instead of grabbing the rim of a cockpit, he grabs under the far side tube.
Make one adjustment to Jerry’s technique, lift with your legs, not your back. 😉
How to Carry a Sit-On-Top Kayak By Yourself
If you are carrying a one-person sit-on-top kayak by yourself, a kayak carry strap is often best. Sit-on-top kayaks don’t have a cockpit rim to rest on your shoulder so the lift and carry technique for sit-in kayaks won’t work.
How to Lift and Carry a Kayak with Two People
Some kayaks are larger, longer, heavier, or just plain awkward. These should be carried with two people or a kayak cart.
And if you have two people, there’s no need to shoulder and carry your kayak alone. A two-person carry is the safer way to go. There is less likelihood of injury to you or damage to your kayak.
For this lift and carry technique, you and your kayaking buddy face toward the bow and grab a carry handle at the bow or stern of the kayak. If the kayak does not have grab handles, reach under the hull at the bow and stern.
- Prevent Back Injuries – Be sure to lift with your legs and keep your back straight.
- Synchronize Your Movements – Lift and put down the kayak at the same time and of course walk at the same speed.
- Maintain Communication – The bow goes first. The person at the bow should inform the person in the rear of any obstacles.
Have More than One Kayak to Carry?
If the kayaks aren’t too heavy and your pathway accommodates them, you and your buddy can carry two kayaks at the same time.
Carrying two kayaks by the grab handles at the same time saves time and reduces back strain. You don’t have one kayak pulling down on one side. You’re better balanced.
Two-Person Kayak Carry at Shoulder Level
To perform a two-person lift and carry at shoulder level, squat down beside the kayak. Place your hand closest to the kayak under the hull. When you’re both ready, lift the kayak onto your shoulder and stand. Keep your hand on the hull for stability and support.
TIP: For comfort, wear your PFD. Its shoulder strap will provide some cushioning.
How to Lift and Carry a Kayak with More than Two People
On rare occasions, more than two people may be needed to lift and carry a kayak. Hardshell, sit-on-top, and fishing kayaks are great examples.
Some kayaks have grab handles at the bow, stern, port, and starboard. Four handles will make this lift and carry a breeze.
Perform a four-person lift and carry just like you would a two-person. Communication is key. It is best to designate the person at the bow as the leader.
I hate to say it but it’s much like carrying a casket.
If there are no grab handles, face toward the bow and place the hand closest to the kayak underneath the hull and lift in unison.
Conclusion
Make things easier on your back when you can.
Don’t lift and carry your kayak by yourself if you have a kayaking buddy with you and using the right tools will ease the load. Kayak carts are a blessing and kayak carry straps make carrying sit-on-top kayaks a breeze.
If you pull or throw out your back, your kayak trip may get cut short.
Follow me on: Linkedin